I took the top for a coat of lacquer in part to keep it clean but also to give me an idea of the end result it also helps promote me to be careful with a finished item, yes it looks good from a distance, the padouk has bled into the maple not every where but oddly enough it mostly happened at the corners, I should have known this was possible as I had wiped it with a solvent at some stage and stained the whole area red which then had to be sanded out, fortunately I have the thickness there to stand a good sanding. I have experimented with giving a spare piece of the banding a coat of water based polyurethane no bleeding then had the lacquer applied on top of that, to date there is no adverse effect.

As a result of the Queen having a birthday in NZ the top now has some legs, for the photo the top is just sat on the leg there are no draws yet, thoughts of these are on going as there is a 140mm difference in the two draw sides which means that on the long side a lot of draw will be left inside the cabinet when fully open.
I did wonder if I was overdoing the detail of this piece but now I see it at this stage I am pleased, the creativeness is satisfied thus far.



 I have had a bucket of teak off cuts in the garage for about 6 years,
another boat job its waste from the deck.
I have had a bucket of teak off cuts in the garage for about 6 years,
another boat job its waste from the deck. As a lot
of it is narrow and short I can only see myself joining lots of pieces
together, I have long thought of a hexagon table but with smaller diamonds
hence a lot more of them, see the July 2010 post I have made 3 tables using different
timbers the diamonds are about 85mm wide this time I am thinking 45mm wide so
that is about 90mm over the hexagon as is the sample I have made.
As a lot
of it is narrow and short I can only see myself joining lots of pieces
together, I have long thought of a hexagon table but with smaller diamonds
hence a lot more of them, see the July 2010 post I have made 3 tables using different
timbers the diamonds are about 85mm wide this time I am thinking 45mm wide so
that is about 90mm over the hexagon as is the sample I have made. The curved piece of Mahogany on the front edge of the desk top was left over from a boat building job and I just had to find a use for it, the patterns on the end of the desk was something I had seen in a newspaper and was longing to use somewhere, the veneer on the draw fronts would have been thrown out and there was no waste what so ever as I made the draws to fit what I had, some of the European Beach was free, but still I have spent about $1000 on this piece and a lot of time. I am thinking of a slide out keyboard table to match the top it will have the same banding to the edge and maybe a mini version of the pattern that is on the top. I would also like to put a tray in one of the deep draws, it is the sewing materials draw so it could be just for the cottons and pins, it all sounds a bit obsolete these days.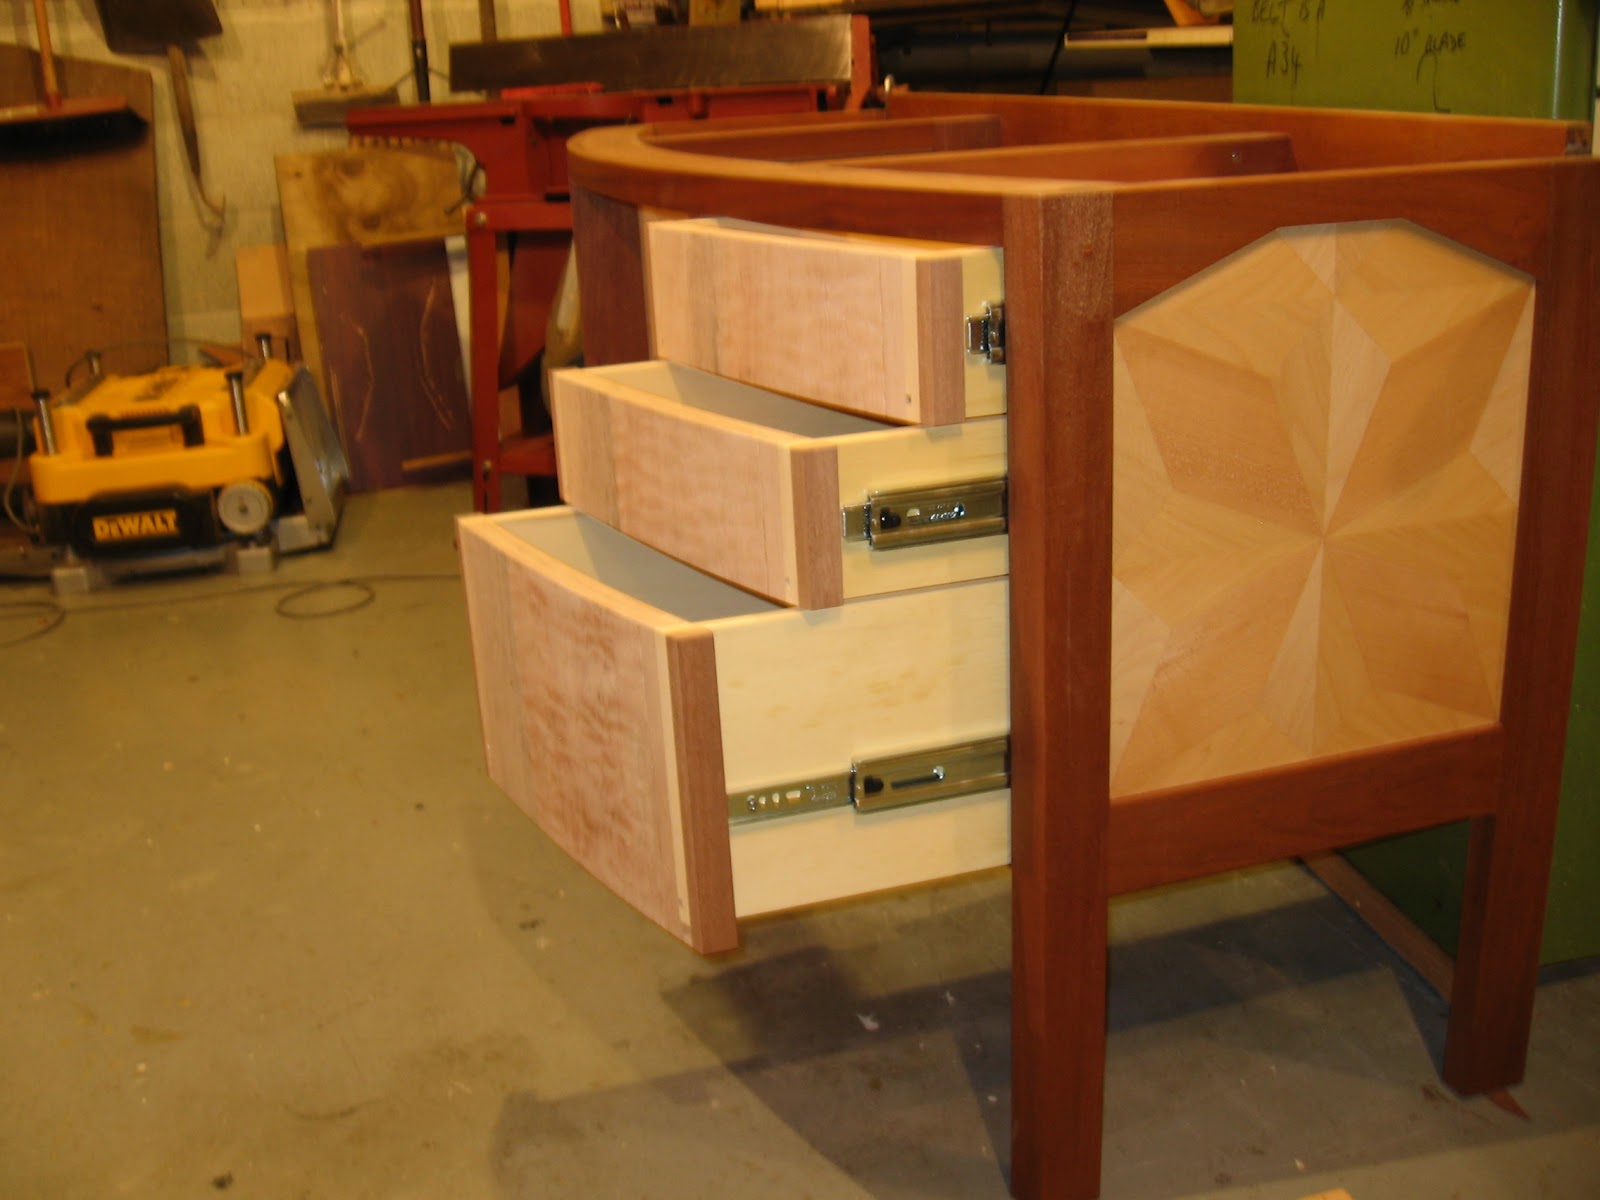
 I decided to put these draws on steel runners and of course they need room, I did think the draws were going to be small and by sacrificing 24mm in width I have kept maximum height in the draws, then I had to close off the gap that they create this I have done with a piece of Mahogany, the fronts will be veneered with a quilted Mahogany and edged with a 1mm veneer so the fronts will look solid Mahogany, the base is 3 thicknesses of 6mm bendy ply with a 3mm dress ply on the inside, this was layed up on a former using a vacuum bag.