FURNITURE

My blog is of my creations, My furniture, using wood I have collected from here and there, occasionally buying some to make up the difference.
My design is often based around what I have available.
Comments welcome, thanks for your visit.

My Trade Mark

My Trade Mark
I'm into diamonds

Thursday, January 30, 2014

SOME REWARDS

On 25 December I showed the coming together of an idea and I was pleased with the result, I said that the piece would be cut into 4mm pieces and glued to the curved pieces I showed in the last post, as you can see it has all happened and pleasing it is too, these are about 65mm high X 40mm thick and 1500mm around the curve, the arc is one I made up as the ends have to come into each leg of the table but they will also meet in the middle as shown in the picture so there is a straight section on each end.
I think they will remain loose of the table until the polishing is complete so the lacquer will be even in the point where they join then I will glue them together.
There is a mortice in each end of about 80mm and once they are fitted to the legs (about 20mm too long now) I will glue in a oak tenon that will protrude from the leg with a wedge to hold the leg, I see these being about 200mm from the floor, I don't like the idea of feet and shoes being put on them and the damage that will occur but then a table is to use and if damage occurs I will know its been used.
There is also progress with the table top, this is 3 pieces I have been fitting together as I glue on the boarders and once they are all at this stage I want to have them put through a drum sander the theory is they will all be the same thickness, then I can start on the back side.

Saturday, January 18, 2014

A big project

I managed to obtain a ply foam ply 20mm sheet to use for the top of this table project, as it is going to be oak and oak is heavy and I believe can be unstable I wanted to laminate the oak onto something stable and light, the foam core is a pva foam and seems to take all glues OK the ply is 3mm.
Here I show the 3 leaves of the table top as it will look at its smallest each piece is 500mm X 1040mm when finished so the table will be 1500mm X 1040mm the center piece will be fixed and the outer 2 will slide out to reveal 2 butterfly leaves that will fold out.
This picture shows each panel waiting for the boarders to be glued on, the oak panels are about 7mm thick and will be sanded down to about 6mm one day, each plank is 73.3mm wide and glued together with pva before being vacuumed bagged onto the ply panels with epoxy, the boarders will have to be glued and cramped one at a time.

Here I show the butterfly leaves in place I moved one to show the join that will have 2 Soss type hinges eventually and will pivot to allow them to fold away underneath, all the oak to date has been free and with cutting and machining I managed to avoid many defects though much has ended on the floor and in the rubbish I hope its good for the garden, I have enough to panel the backs that will again be vacuumed on after the fronts are complete and sanded, the edges of the top I hope will have a similar pattern as shown in the last post.


The leg shape is still being decided but will again probably involve some of the pattern shown in the last post so there is still some of that to be made.


Here I show the two curved pieces that will span the legs lower down about 200mm of the floor they will have a through tenon on each end and a wedge system, the piece gluing in the jig has formed the top to the pieces on the ground then the piece in the last post will be ripped into strips and glued onto each side of those curved pieces, but that is some way down the track as I need the base of the table made to determined where the legs will sit and the legs made so it will all happen in good time, and lots to look forward to.   

Wednesday, December 25, 2013

A New Project

Oak and Beech

I have a stack of Oak, short and wide, I have some long pieces of European Beech.
The dining table is looking shabby and needs to be bigger to accommodate 2 laptops the morning paper and food.
I saw an inlay patten somewhere I can't remember it, this is my version and if all my plans eventuate it will appear in various places on the table and maybe slightly different.
This is the European Beech with a Sapele inlay, the inlay is 20mm diameter so the half is 10mm X 20mm wide, and the piece I show here is 1650mm long and has 84 pieces inlayed.

I started by making a short sample to confirm I had what it takes and that I could be successful, I learnt its important to be square with these cuts as later I would cut the piece in half and roll it over on itself move it along 20mm and glue it together to give the above result, a close look or enlarge the photo and you will see the shape of the cutter also that I had taken out the meat of the cut using the table saw.

The cut sizes was easy to maintain it was the space between that was difficult to maintain and getting the thickness of the Sapele correct so when I put the round on the fit was correct and snug, I had cut the Sapele wide enough to do one and a half pieces so every third piece is joined in the middle but that join will disappear when the length is cut in half later, much of this thinking is about my machinery's capabilities and about not handling small pieces of wood on machines bigger is better within the machines ability.

There are a few burn spots but nothing enough to show on the finished product I hope, gluing in the half rounds was slow with limited cramps and I found it better to glue in every second one to allow for room to tighten the cramps, I cut the inlays 1mm big and dressed them of when dry, I did wonder how my thicknesser would handle the end grain so cut as closely as I could using the table saw, I have used pva through out to give a clean a glue line as possible.

This block will eventually be split into 4 pieces 5mm thick and used on both sides of 2 crescent shaped rails that will hold table legs together, I will form a tenon on the end and the legs will have a mortice, I am thinking a long tenon to protrude from the leg with a mortice in the end then use a wedge to hold in place, a Sapele red wedge would just complete the contrast.


Friday, November 15, 2013

Pleased I made the effort

I so much wanted to have a go at rose corners, I wanted to use that piece of mirror, to give it new life, the strips of Zabrano veneer were sat in the cupboard screaming to be let out and be seen.
Of all the router cutters I have nothing would give me that V and round on the inner molding, I achieved it by putting the circular saw on a 45 degree then a lot of careful hand sanding.
I did get a little confused about how the corners would be orientated but luck was on my side and all ended better than I would have imagined.
The photos are taken after being lacquered and with the mirror in place, I layered it on the floor so the reflection is of the ceiling with the sun coming through the window, it would have been easy to have toes and hands holding camera in the photo, its a fact of life that in a photo it looks to be diminishing but in reality our eyes adjust and we see a real square so make allowances for the photo.

If there is one place MDF board is good it is as a stable backing for veneer, I did veneer the back too so there is even tension to avoid any risk of bending and now with those edges glued on there is no MDF to be seen.
The overall size is 1150 mm high and 750 mm wide the glass is 4mm so it has become heavy and I will reluctantly use 4 mirror brackets to fix it to the wall, I hate putting holes in the walls but then I can't have it stood on the floor.


Monday, October 28, 2013

A Burst of Enthusiasm

These pictures are taken with the frame layed on the carpet so there is no reflection from the mirror, I always expected it to be hung vertically on a wall but now see it looks good like this.
The rose corners have become smaller due to discovering a nail hole in the second time around rimu that I cut out, but funny how things work out as I think it looks better than it would have done.
There are a few finishing touches to go, a little strengthening behind to take a heavy mirror, a back of thin ply then a coat of finishing lacquer.  

Saturday, September 21, 2013

Old Mirror - New Mirror

I found some mirror some time ago, it has sat in the garage and I worry I will break it someday, so time to frame it and hang it on the wall.
I wanted an elaborate frame and have wanted to do rose corners, I have long narrow strips of Zebrano veneer for the sides so had to have some on the rose corner.
These blocks are 115mm square with the outer part being Rimu, old weather boards with the paint removed and the nail holes cut around, the light wood is European Beach and on top of that is Jarrah, the Jarrah is from a beam that was removed from a building that was built in the 1840s, both Zebrano and European Beach are left overs from jobs I have done in the past.
Between the corners will be moulded Rimu on either side of the Zebrano veneer.
   

Saturday, September 7, 2013

Doing not much

I decided I had been too intense and needed to slow down, you know, take a walk, smell the roses,veg out and sleep in.
Then I look at the blog and think, I haven't been up to much recently and don't remember smelling the roses.
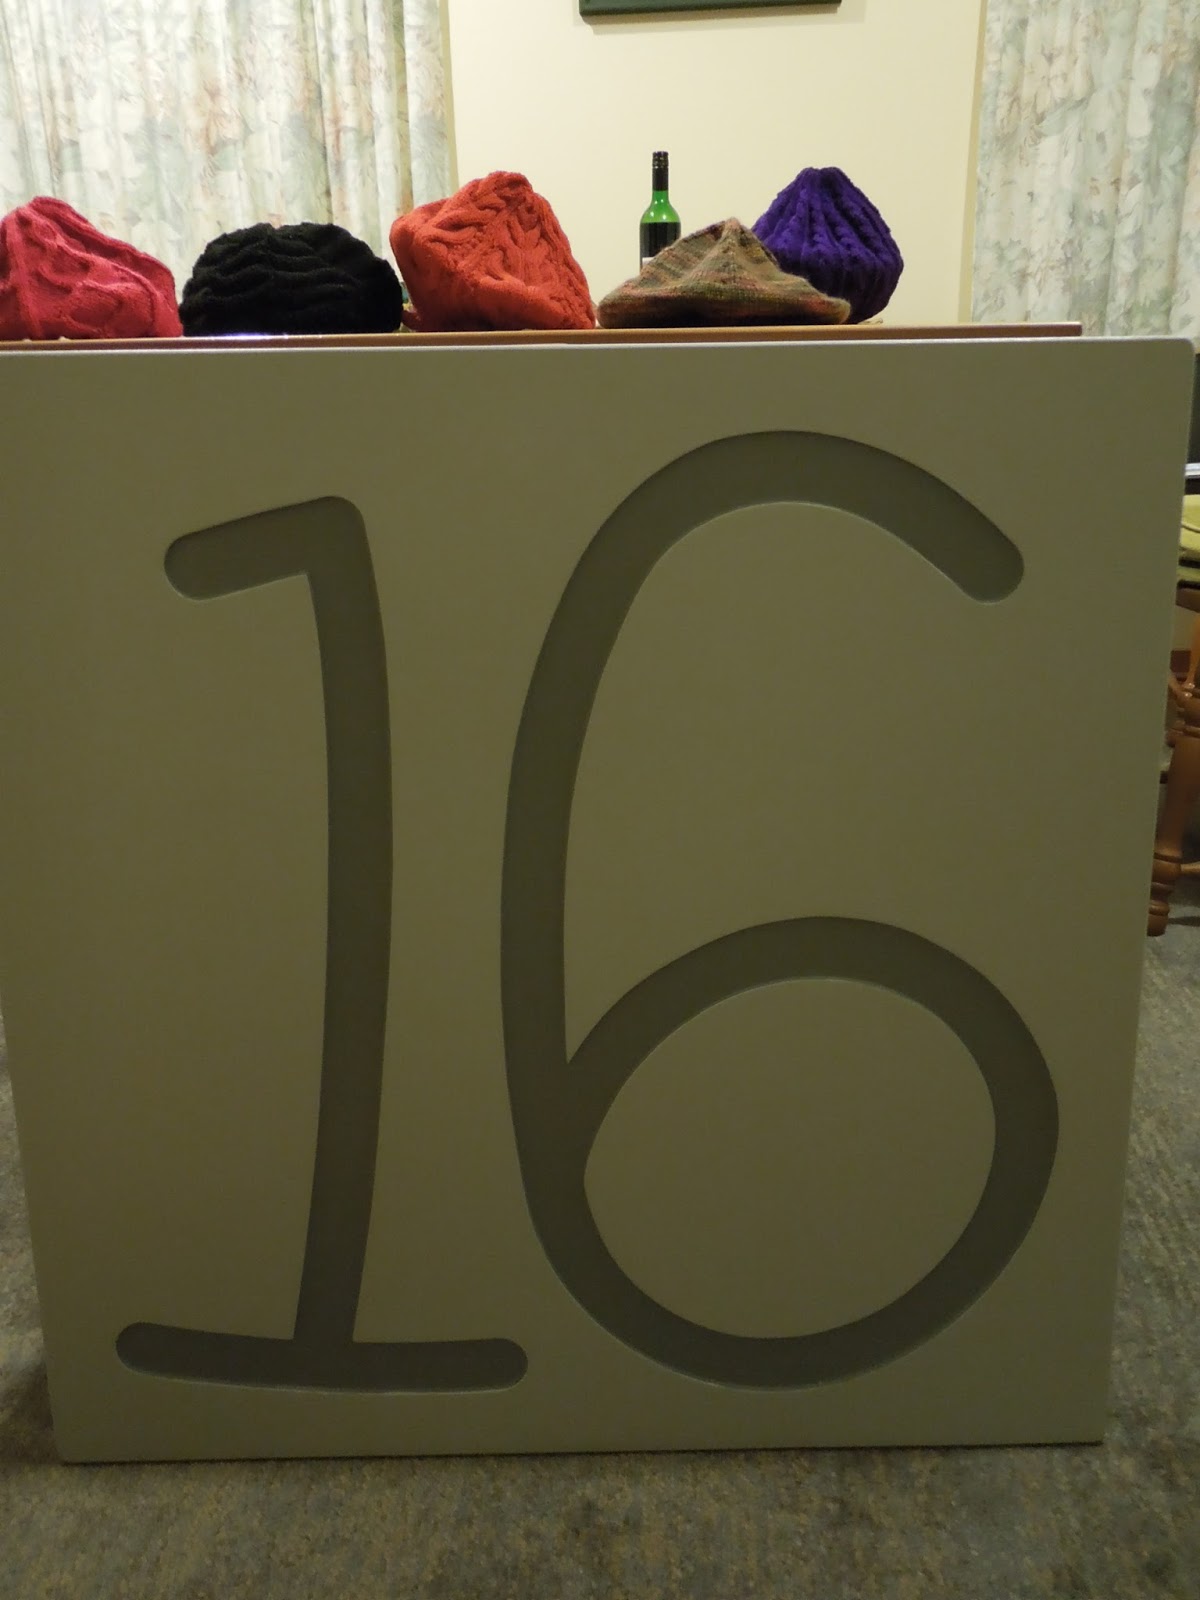
I stood and watched my other half knitting yet another hat and realised someone had been up to much, she tells me there are more and that 3 have found other heads to keep warm, I put them on the table to photo and couldn't resist including the compass point I put into the table years ago.
Back to the hats, I have become guardian of the black one as I like the patten, the patten is different on each one which is incredible clever I think as she has not had knitting needles in her hands for so long, and they feel just nice to hold. 


Then I realised I had been up to something.


The house has only ever had a shop bought number stuck on the letter box that at times we have colored up again with a felt tip pen so it became time to let the world know where number 16 is.
I cut the number about 3mm into the board of exterior ply using a router free hand, I had looked at fonts and decided on this one as I think it is informal.
I painted the groove first as it was then easy to roller on the lighter color last.
I have to dig a hole for a post as I intend to use the number to help hold up my rather wobbly letter box.


And there are lots of hats to keep number 16 warm during those long cold nights at the bottom of the drive.