
FURNITURE

My blog is of my creations, My furniture, using wood I have collected from here and there, occasionally buying some to make up the difference.
My design is often based around what I have available.
Comments welcome, thanks for your visit.

My Trade Mark

My Trade Mark
I'm into diamonds

Sunday, July 29, 2012

Draws Draws and Draws


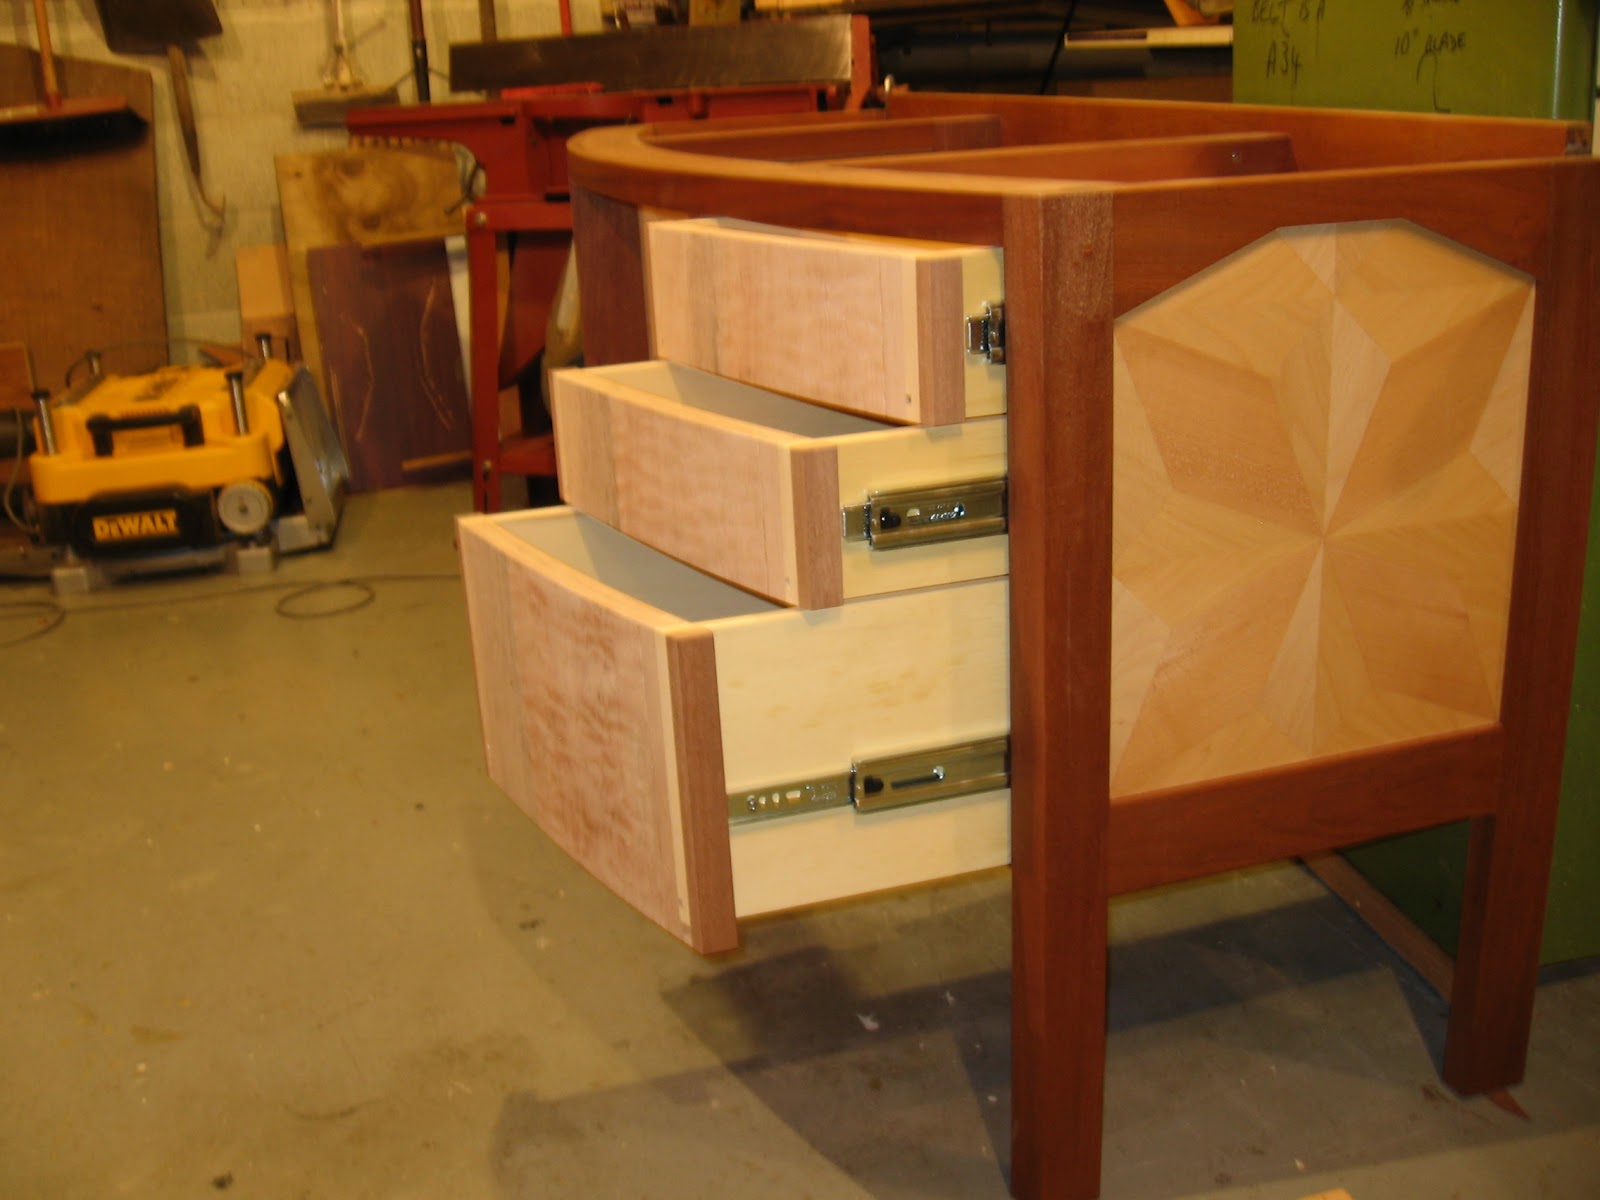
I decided to put these draws on steel runners and of course they need room, I did think the draws were going to be small and by sacrificing 24mm in width I have kept maximum height in the draws, then I had to close off the gap that they create this I have done with a piece of Mahogany, the fronts will be veneered with a quilted Mahogany and edged with a 1mm veneer so the fronts will look solid Mahogany, the base is 3 thicknesses of 6mm bendy ply with a 3mm dress ply on the inside, this was layed up on a former using a vacuum bag.
It has been fun going through the process of attaching the fronts to the sides and keeping them all flush, now the challenge is to get that veneer on and be flush with the frame around the draws.
The end is neigh, I want to attach the handles with a biscuit so there are still some anxious moments to come. 

Tuesday, July 10, 2012

I had to decide what to do on the draw fronts, the material I had and wanted to use I thought looked a little plain and needed connecting to the rest of the unit, I would normally finish a piece of furniture then go looking for some handles to compliment it, I did so want some pattern on the draw fronts so it had to be the handles, I wanted to be sure I could do this before I continued with the fronts so the handles had to be made first.
The one bottom right is a finished product I think, all the others have burn marks from the circular saw that will be sanded out sometime.

Sunday, June 3, 2012

Progress

I took the top for a coat of lacquer in part to keep it clean but also to give me an idea of the end result it also helps promote me to be careful with a finished item, yes it looks good from a distance, the padouk has bled into the maple not every where but oddly enough it mostly happened at the corners, I should have known this was possible as I had wiped it with a solvent at some stage and stained the whole area red which then had to be sanded out, fortunately I have the thickness there to stand a good sanding. I have experimented with giving a spare piece of the banding a coat of water based polyurethane no bleeding then  had the lacquer applied on top of that, to date there is no adverse effect.
   As a result of the Queen having a birthday in NZ the top now has some legs, for the photo the top is just sat on the leg there are no draws yet, thoughts of these are on going as there is a 140mm difference in the two draw sides which means that on the long side a lot of draw will be left inside the cabinet when fully open.
I did wonder if I was overdoing the detail of this piece but now I see it at this stage I am pleased, the creativeness is satisfied thus far.  

The end of Autumn

May morning sun rise
The end of May let us know winter was upon us with this stunning morning view of the sun rising and hitting the mist that still lay in our valley, it was a chilly morning for Auckland considering may is not a winter month I am sure we will get colder yet and good views but not always the time or inclination to get out the camera.

Monday, February 6, 2012

Time to Admire and Enjoy

 I am so pleased now that it has come together, the challenge to myself was to get a correct joint on the corner of the banding, I do still have an upstand to put on the back and some sanding to do so the challenge is still there not to sand through the veneers.
I did sucomb to the idea of laying it all up on MDF and using MDF for the ground to the banding, the MDF is very stable and strong so that was the plus the down side is the weight I will have to live with.
The main body of the banding is European Beach so that is used as the wide boarder to the top in a short direction.
The contrast will be much greater once the lacquer coatings are applied and that will be for a later posting

Great progress

 A hundred and eighty four pieces are involved in the main body of this desk top, the pieces that are in the short direction are a Sapele Pomelle or is it simpler to say very figured  the long direction pieces are a straight grain Sapele when it has a coat of lacquer on it this will be far more obvious the off white infill is a Maple with a little grain showing.
The Pomelle was layed up on a laminate (formica) backing so it was 1.2mm thick and cupped so created something of a problem for me, the straight grain Sapele was 1mm thick so I pressed it onto paper to give it the same thickness as the Pomelle with excellent results, the Maple was about 1.7mm thick and easy to cut back once the glue was dry, I used PVA and having limited cramps available I was able to glue up about 8 pieces at a time, the center pieces were a challenge having to use pressure bars to transfer the weight from the cramp, some days I was able to get 3 glue up done so progress was slow, but what a result. 

Wednesday, February 1, 2012

Excitement

After some plain banding and some experiments, I decided to challenge myself, with a little help from someone who knows and some web research, the photos show the results.
The red is Padauk with some very white Maple then 1mm Sapele the other is European Beach, it is set in Sapele again its 1mm laminated into the curve.